Task list automation with Power Query
I like when tasks are actionable. Saying “Fix the overview-page” as a task isn’t very useful to anyone! How do you know what to do and when you’re done? What if the task was instead “Decide on a name for the overview page”, “write a description for the overview page” and “accept the description of the overview page”. This time it’s tangible!
Oh but there’s a downside… The first task was just 1 but now we’ll end up with many! Ough! So much more work…
No worries though, there’s a solution built right into Excel! I’ve made this sample file but feel free to alter it any way you like! I typically use this file when conducting workshops myself and we want to go through a battery of questions and generate a vast task list and make sure we use our available time effectively.
Step 1 – The lists
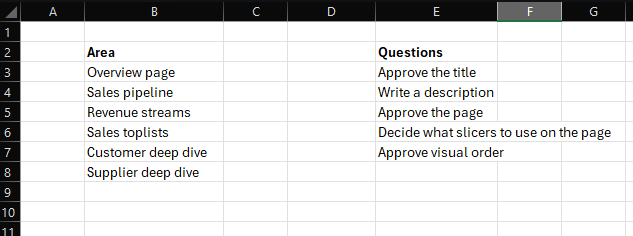
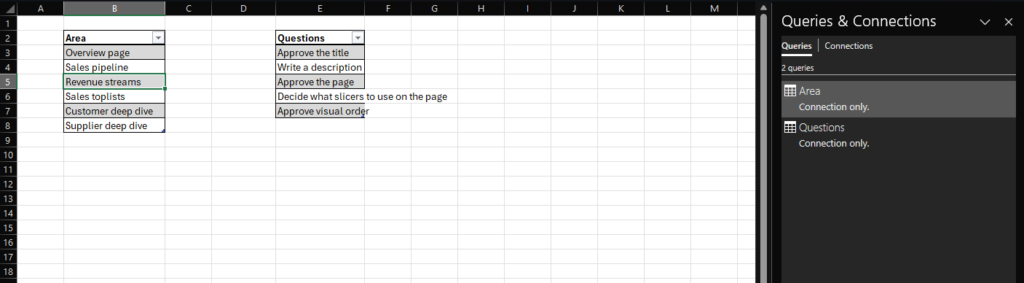
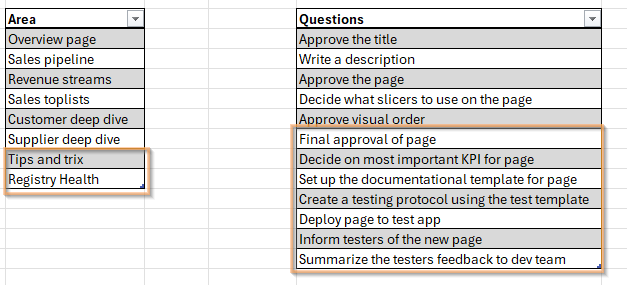
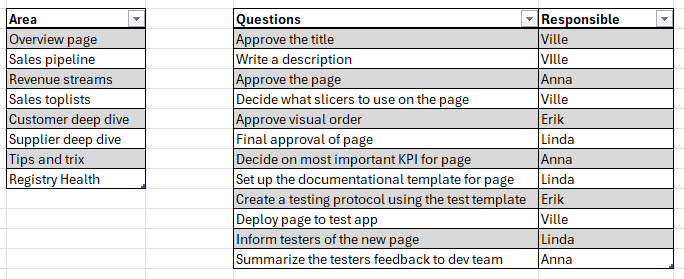
Let’s start with 2 lists. One is named Area and one is named Questions. In this example, Area is a page of the a report but it could be an entire report or a security area or whatever. The main idea is that for each area, we need to ask the same questions over and over again.
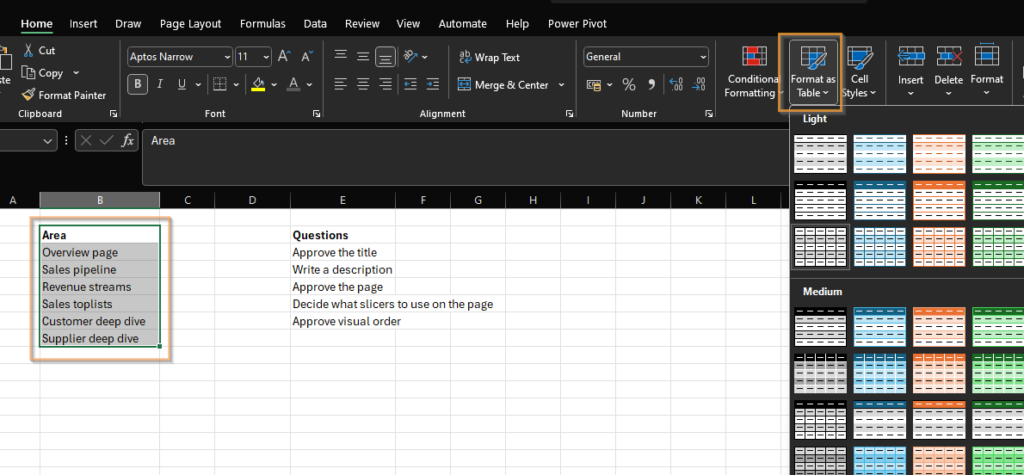
First you need to make them tables, by selecting them and hit “Format as table”.
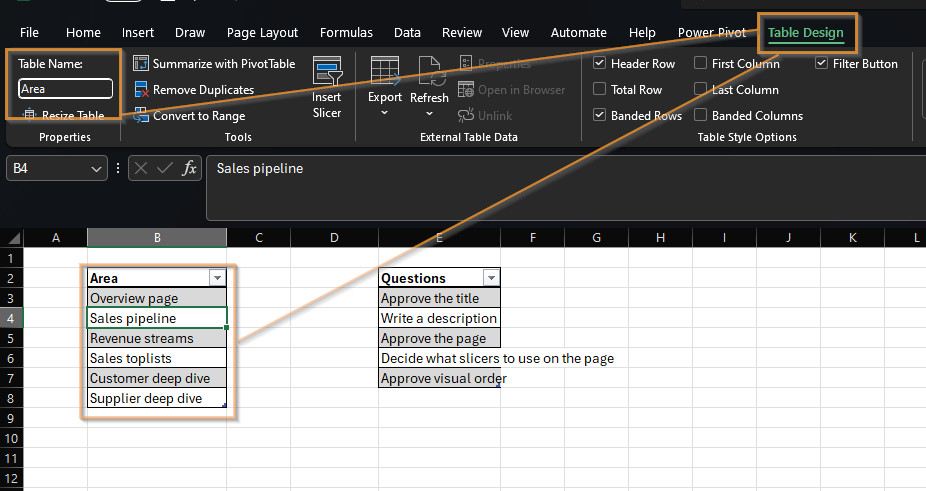
I also like to give my tables proper names 😉 You should too.
Step 2 – Transforming the lists
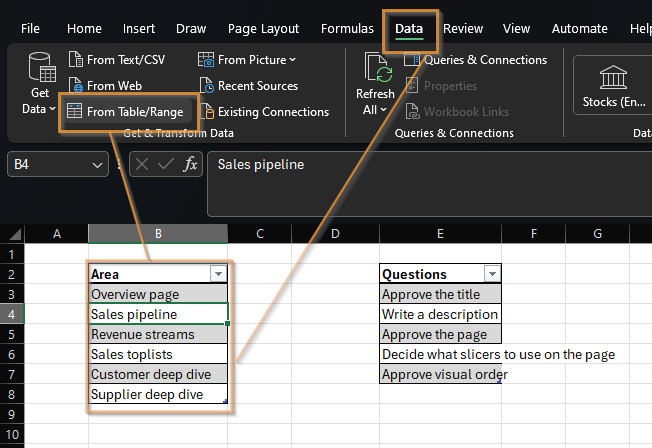
Head to the Data tab, select one of the tables and click “From Table/Range”
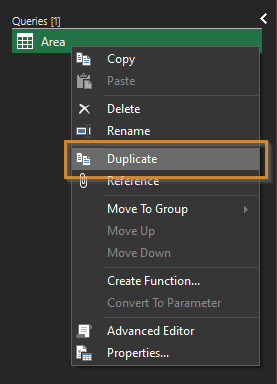
In Excel, unlike the mighty Power BI, you cannot access the front window while Power Query is opened. To get the other table in here without first click close and apply, you can duplicate the query on the left side like this:
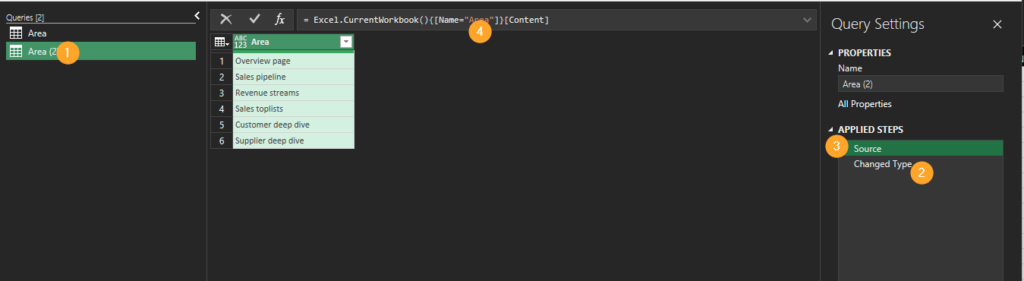
Next we’re going to make a series of steps. First, select the new query named Area (2). You can right click and rename it into “Questions” (1). Next, remove the step called “Changed Type” (2). After this, select the Source-step (3) and finally rename “Area” into “Questions” in the formula field (4).
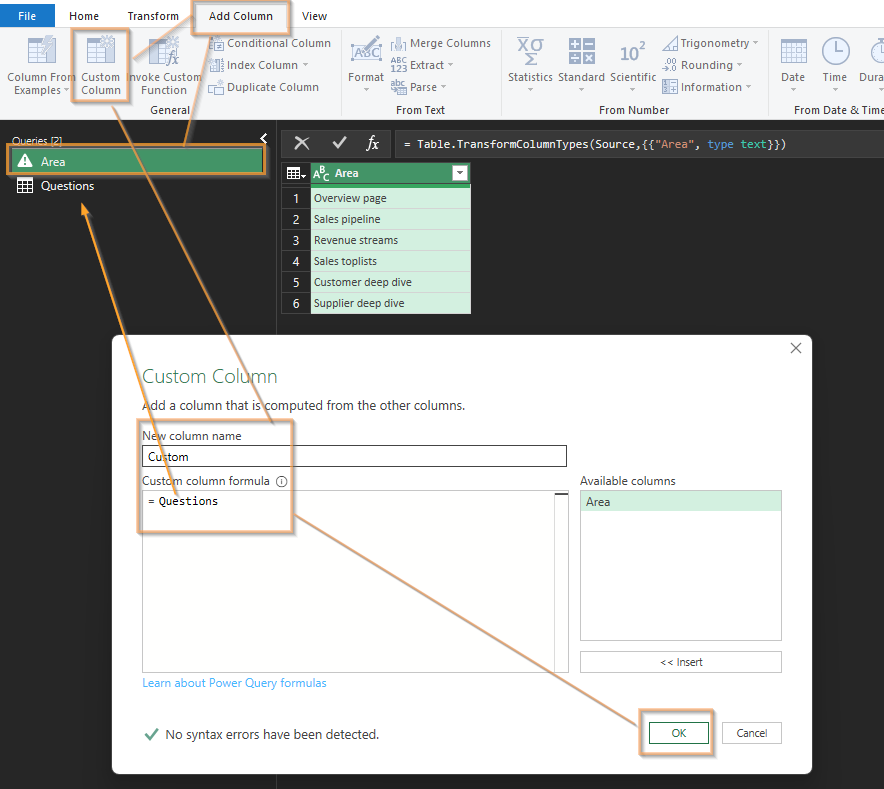
Allright now go back to Area, go to Add Column, select Custom Column and type in “Questions” as the formula. If you named your query something else, go with that name (note the arrow). Finally press OK.
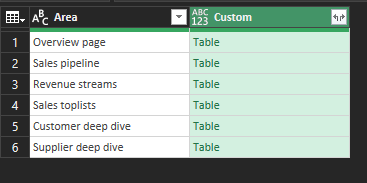
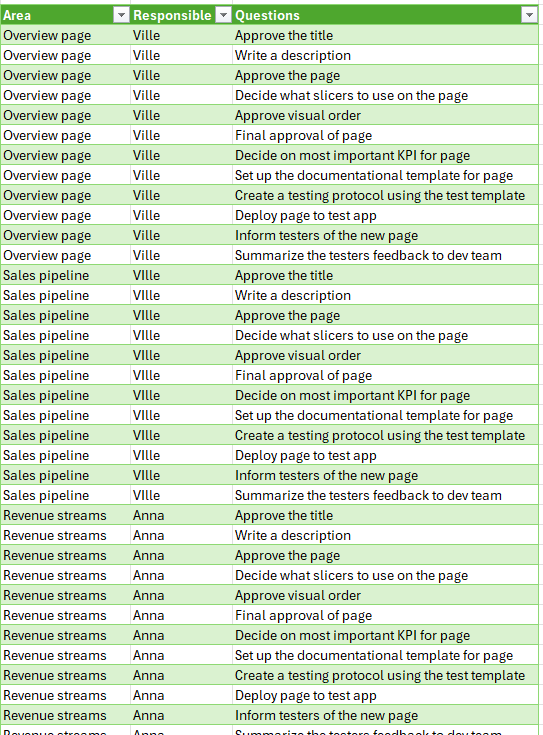
Now we have a table of questions for each area!
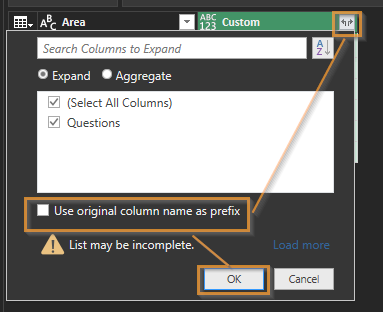
Now click on the Expand icon and deselect “Use original column name as prefix”, then click OK.
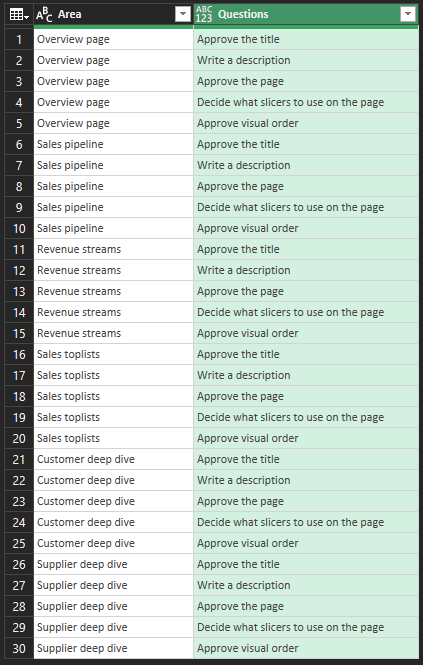
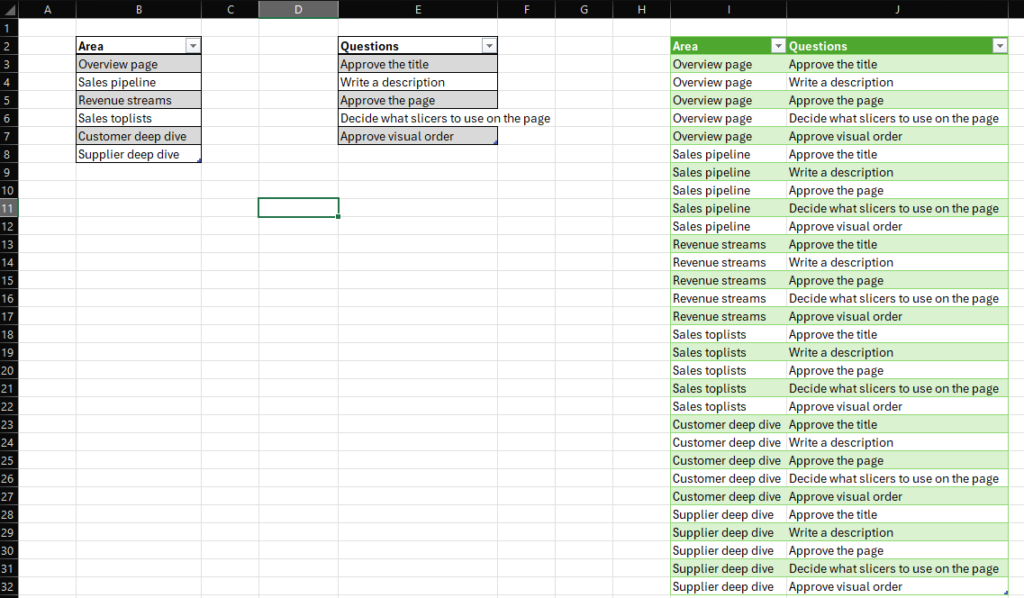
Tadaaa!! We now have 30 tasks available!
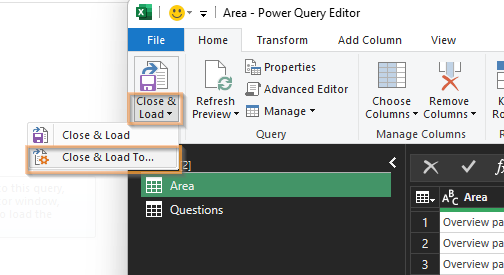
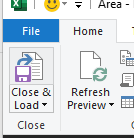
Head back to the home page, click Close & Load (on the bottom of the button) and the Close & load To…
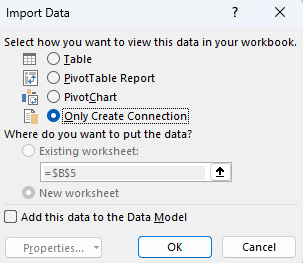
Personally I prefer to always select “Only Create connection” in this view and then later decide where to put my tables.
In Excel, we now have this side panel opened automatically! Here we can see both our queries and that they are only connected to.
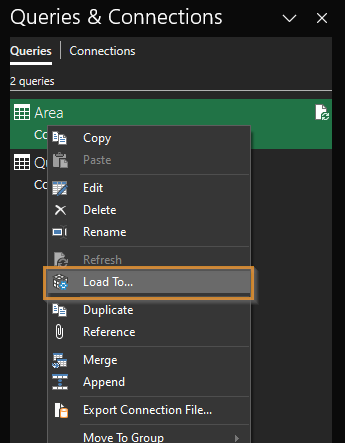
Right click on Area and select “Load To…”
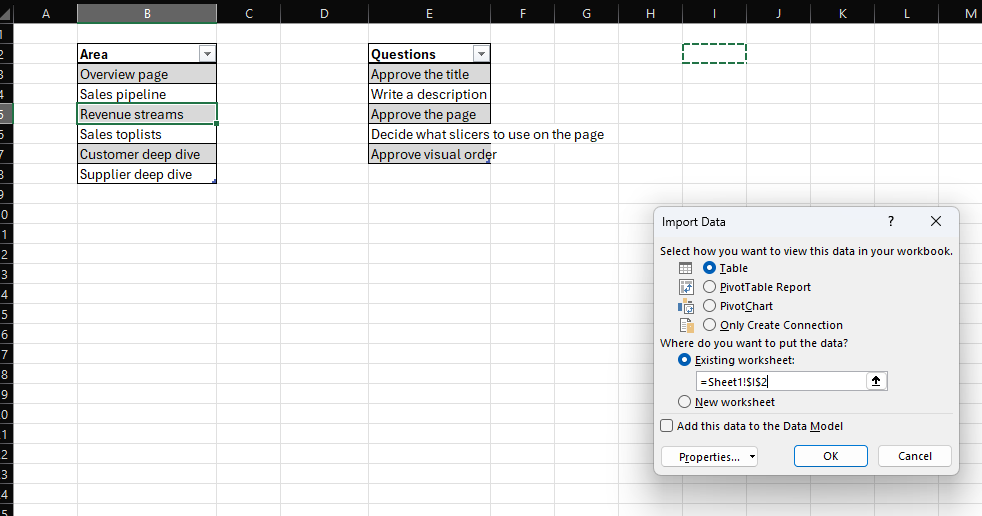
Select Table and then decide on a good cell to start in.
This is our final view of the sheet!
Step 3 – Modify the questions
Ugh.. After all this work, some clever person comes along and decides we need to add more pages to the report as well as a bunch of more questions to our task list.
Fortunately, there’s very little effort for us to update the complete list of tasks!
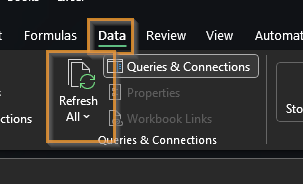
We’ll simply head to the tab named “Data” and click on “Refresh All”!
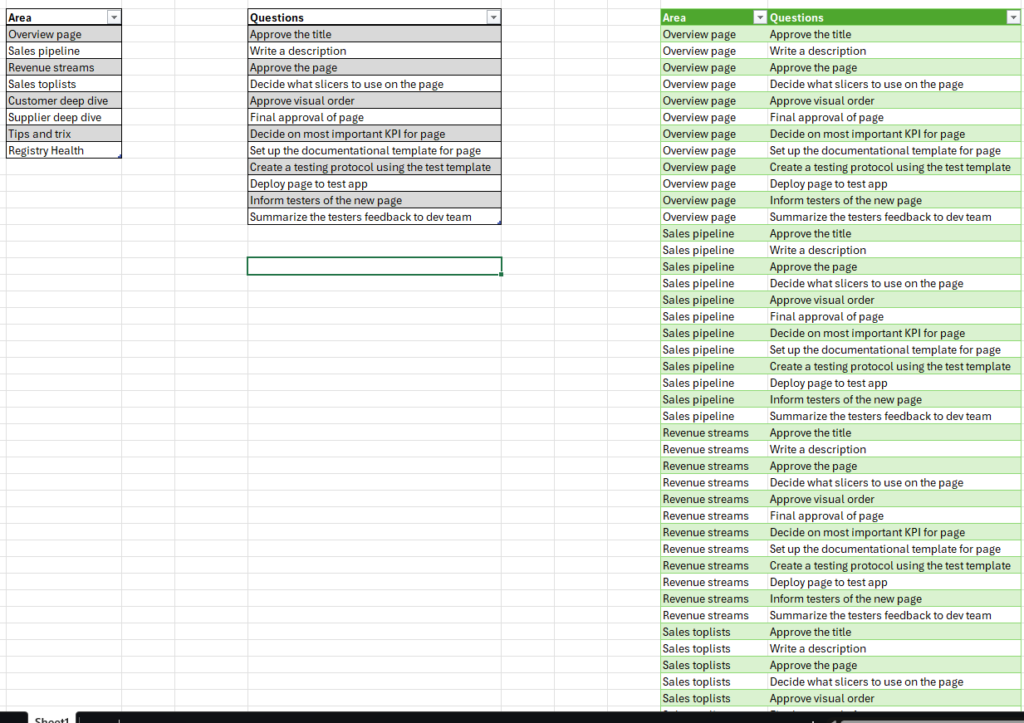
All 96 tasks have been created in the list in an instant!
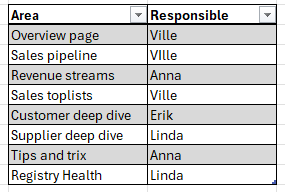
Now let’s have a look at some magic! In each Area, I’m putting in a new column with a responsible person for the task/question.
After clicking that Refresh All-button again, all my tasks suddenly have a default person assigned to them as well!
It’s even possible to set this per question! We do need to make a slight change in the transformation though. Let’s try it! First, add a column to the questions instead of the area with a responsible person:
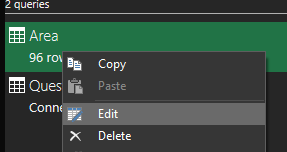
On the right side, right click on “Area” and select “Edit” to get back into Power Query editor.
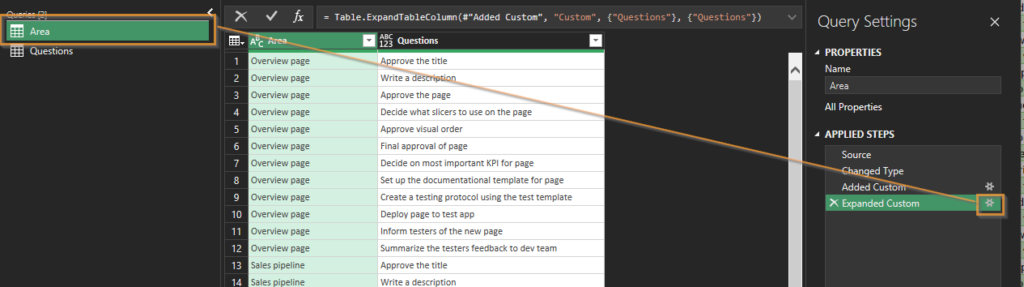
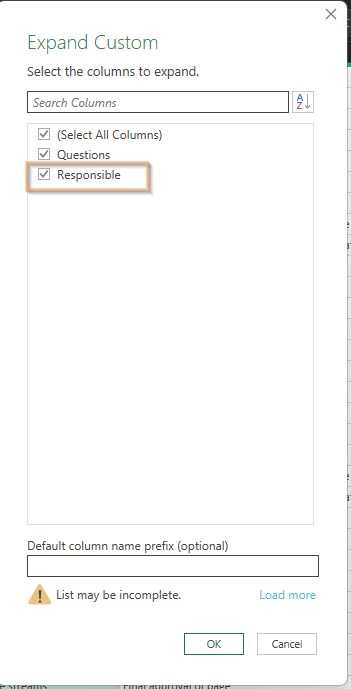
While standing on the Area-query, click on the cog wheel for the last step where we expanded the Custom column with the questions.
Responsible was not present before since it didn’t exist in the table. Now it does! Make sure you select it and then click OK.
Click on the Close and Load-button in the left upper corner to close the Power Query editor Window.
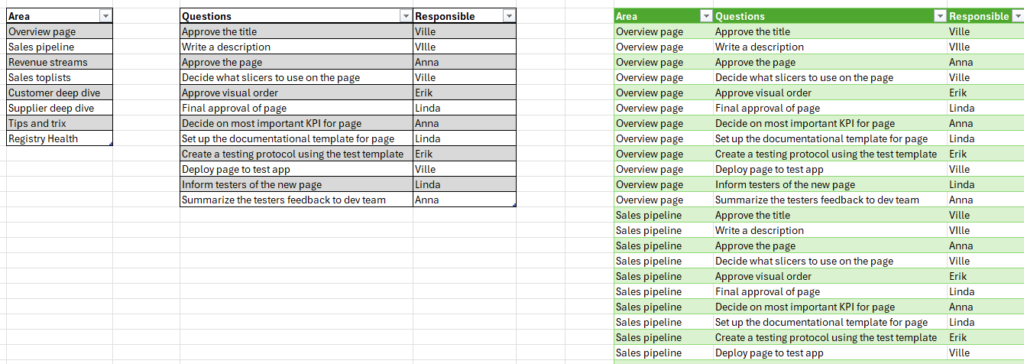
This time we have the same task list but the default person assigned to a task is based on the task and not the area!
From here it’s a simple matter to copy the tasks to your favorite project management tool!
Good luck!